Business Manager Setup
Step-by-step guide for setting up SureBright integration in SFCC Business Manager including cartridge upload, metadata import, and catalog configuration.
Business Manager Setup#
The integration follows SFRA’s extensibility and modularity principles and is built on top of app_storefront_base and related modules. It must be implemented in an environment that adheres to SFRA guidelines.
Prerequisites: Ensure you have administrative access to your SFCC Business Manager instance before proceeding with these steps.
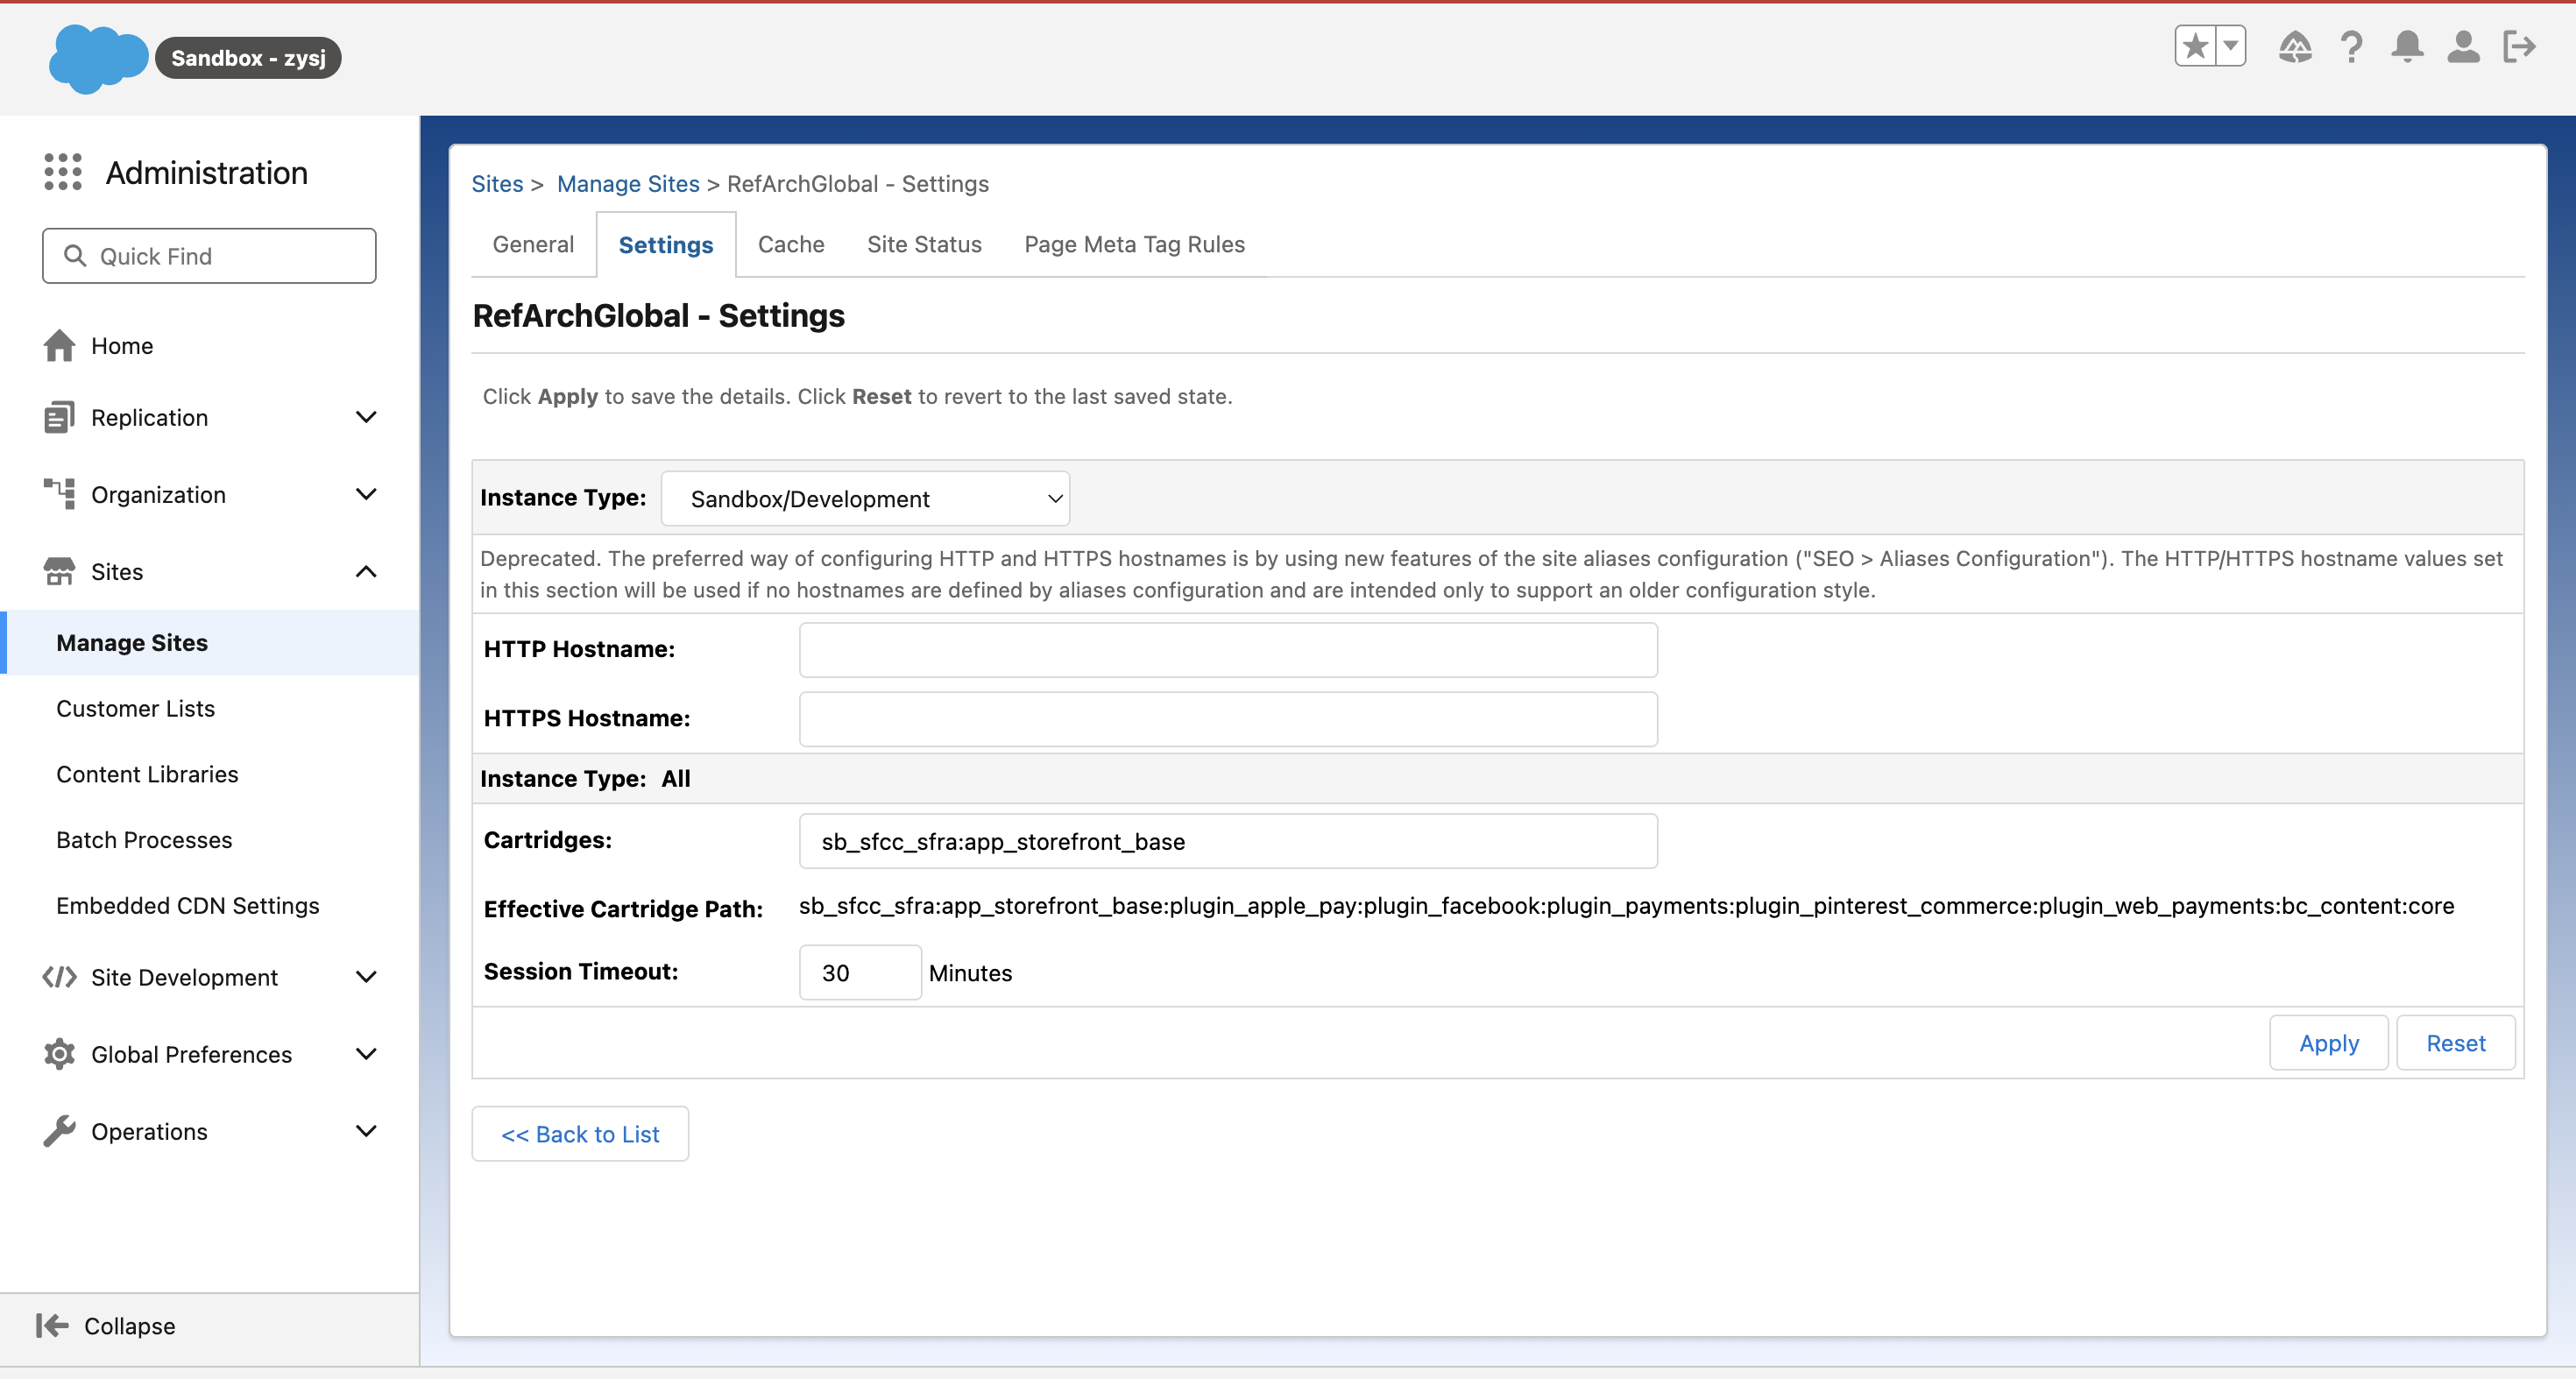
Upload Cartridge & Include in Cartridge Path#
Upload the surebright_sfra cartridge to your SFRA sandbox environment.
Go to Business Manager → Administration → Site → Manage Sites. Select your desired site and go to Settings.
At the beginning of the Cartridge Path, add
surebright_sfra:to include the cartridge in your current site's configuration.
Important: Always test in your sandbox environment first before deploying to production. Ensure the cartridge is compatible with your SFCC version.
Import Metadata#
Go to Business Manager → Administration → Site Development → Import & Export
Upload the following files from the SureBright integration package:
system-objecttype-extensions.xml
custom-objecttype-definitions.xml
Go to Business Manager → Administration → Site Development → Import & Export → Metadata → Import
You should see both files as available for import. Proceed to importing both files.
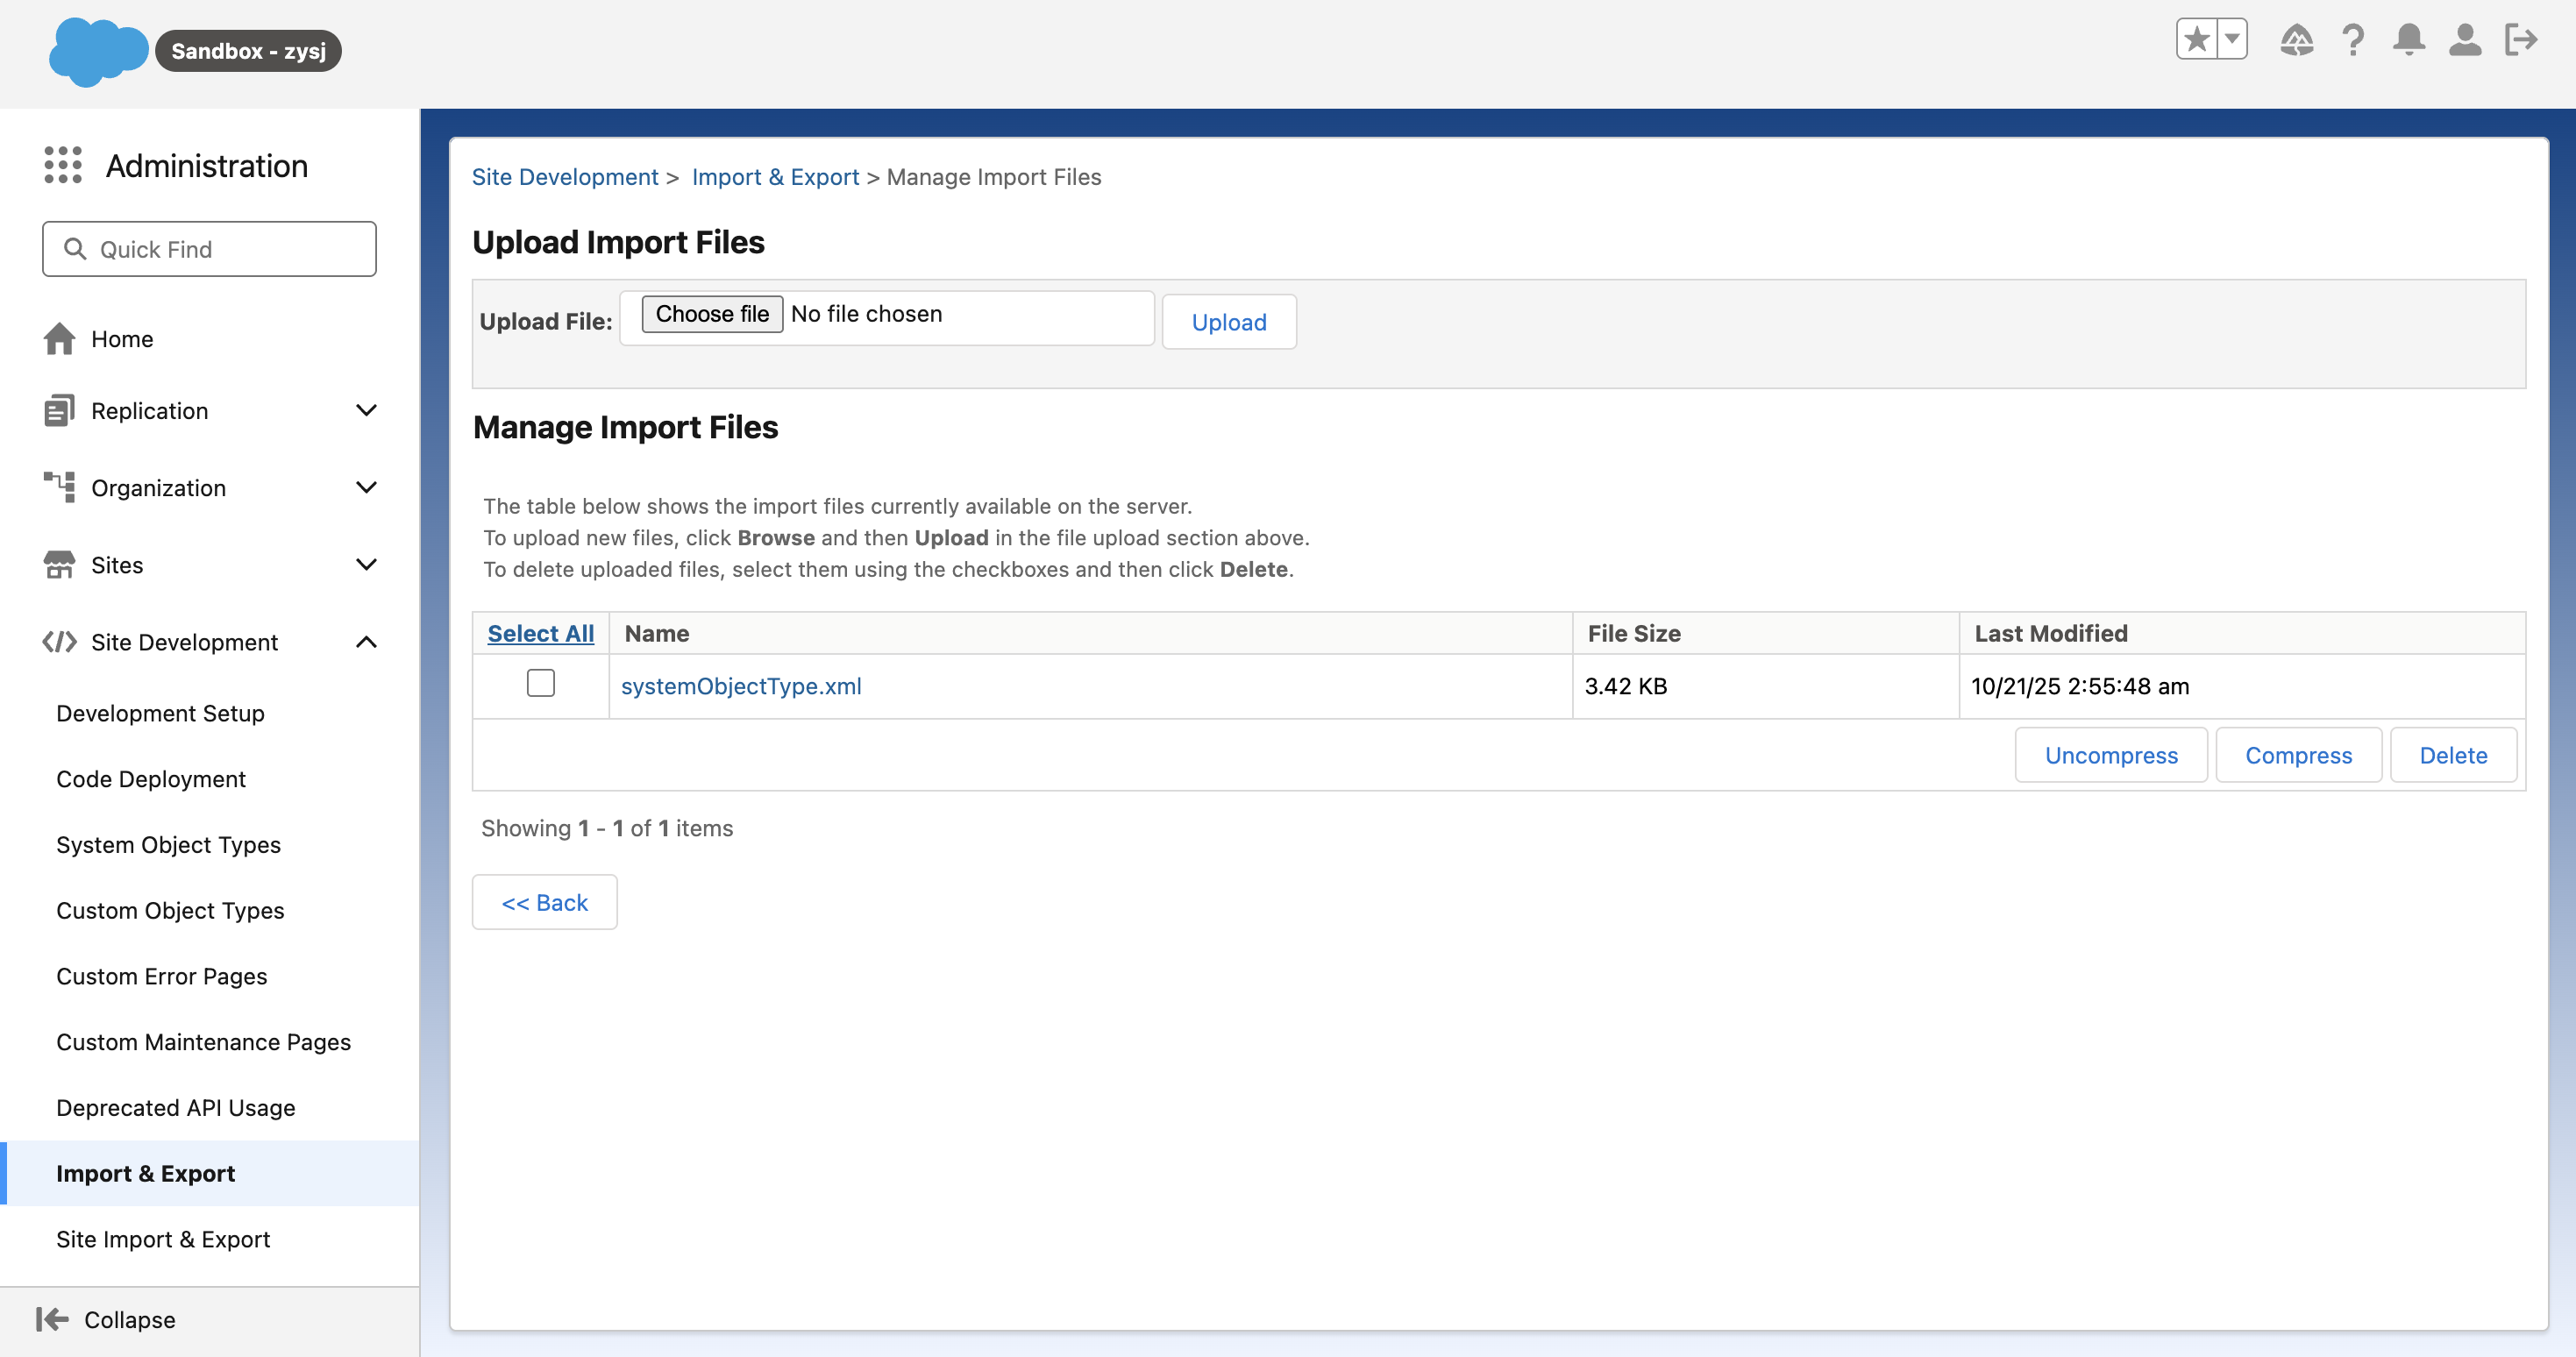
These files contain custom object definitions and system extensions required for the SureBright integration to function properly.
Import Custom Jobs#
Go to Business Manager → Administration → Operations → Import & Export
Upload the following file: jobs.xml
Go to Business Manager → Administration → Operations → Import & Export → Jobs → Import
You should see the jobs file as available for import. Proceed to importing it.
The jobs file contains automated job definitions for product synchronization, order processing, and contract creation. These will be configured in detail in the Jobs Guide.
Import SureBright Product Catalog#
Select your site integrating with SureBright
Go to Business Manager → Merchant Tools → Products and Catalogs → Inventory List Import
Upload the following file: catalog.xml
This will import variant products according to unique warranty tenure and price.
We recommend keeping the surebright products as a separate master catalog for better visibility and management.
Verify Installation#
After completing all import steps, verify the installation by checking:
1. Cartridge Status#
Go to
Administration → Sites → [Your Site] → CartridgesVerify
surebright_sfracartridge is listed and activeCheck for any compatibility warnings or conflicts
2. Job Definitions#
Go to
Administration → Jobs → Job DefinitionsVerify SureBright jobs are imported:
SureBrightProductsExportSureBrightOrdersCreation
3. Product Catalog#
Go to
Merchant Tools → Products → Product CatalogVerify warranty products are imported with correct SKUs
Check that products are assigned to your site's catalog
Next Steps#
Once you have completed the Business Manager setup:
Configure User Access: Follow the Configuration Guide to set up API clients and user accounts
Set Up Data Sync: Use the Jobs Guide to configure automated synchronization jobs
Test Integration: Run comprehensive tests using the Testing Guide
Troubleshooting#
Common Issues#
Cartridge Upload Fails
Verify you have administrative permissions
Check cartridge compatibility with your SFCC version
Ensure sufficient disk space in your sandbox
Metadata Import Errors
Verify XML file format and structure
Check for existing conflicting custom objects
Review import logs for specific error messages
Product Catalog Import Issues
Verify inventory list and pricebook assignments
Check product SKU naming conventions
Ensure site configuration is complete
Getting Help#
If you encounter issues during setup:
Check the FAQs for detailed answered questions
Contact your SureBright representative for immediate assistance
Email support@surebright.com for technical support
✅ Setup Complete#
Great job! You have successfully completed the Business Manager setup phase. The SureBright integration foundation is now in place and ready for configuration.
What's Next: Proceed to the Jobs Guide to configure automated data synchronization jobs.