

Business Manager Setup
Install SureBright in SFCC Business Manager: upload the cartridge, import the metadata, jobs and SureBright product catalogue, then check the installation.
On this page you install SureBright in Business Manager: you upload the cartridge, import four files from the SureBright integration package, and check that everything arrived.
What you get: the SureBright cartridge on your site, the SureBright jobs ready to schedule, and the warranty products in your catalogue.
What you do: the uploads and imports below, in your sandbox first. On the Full Business Manager Access path, SureBright does this configuration for you.
Before you start: you need administrative access to your SFCC Business Manager instance. Your storefront must follow SFRA guidelines: the integration is built on top of app_storefront_base and related modules.
Upload the cartridge and set the cartridge path#
Upload the surebright_sfra cartridge to your SFRA sandbox environment.
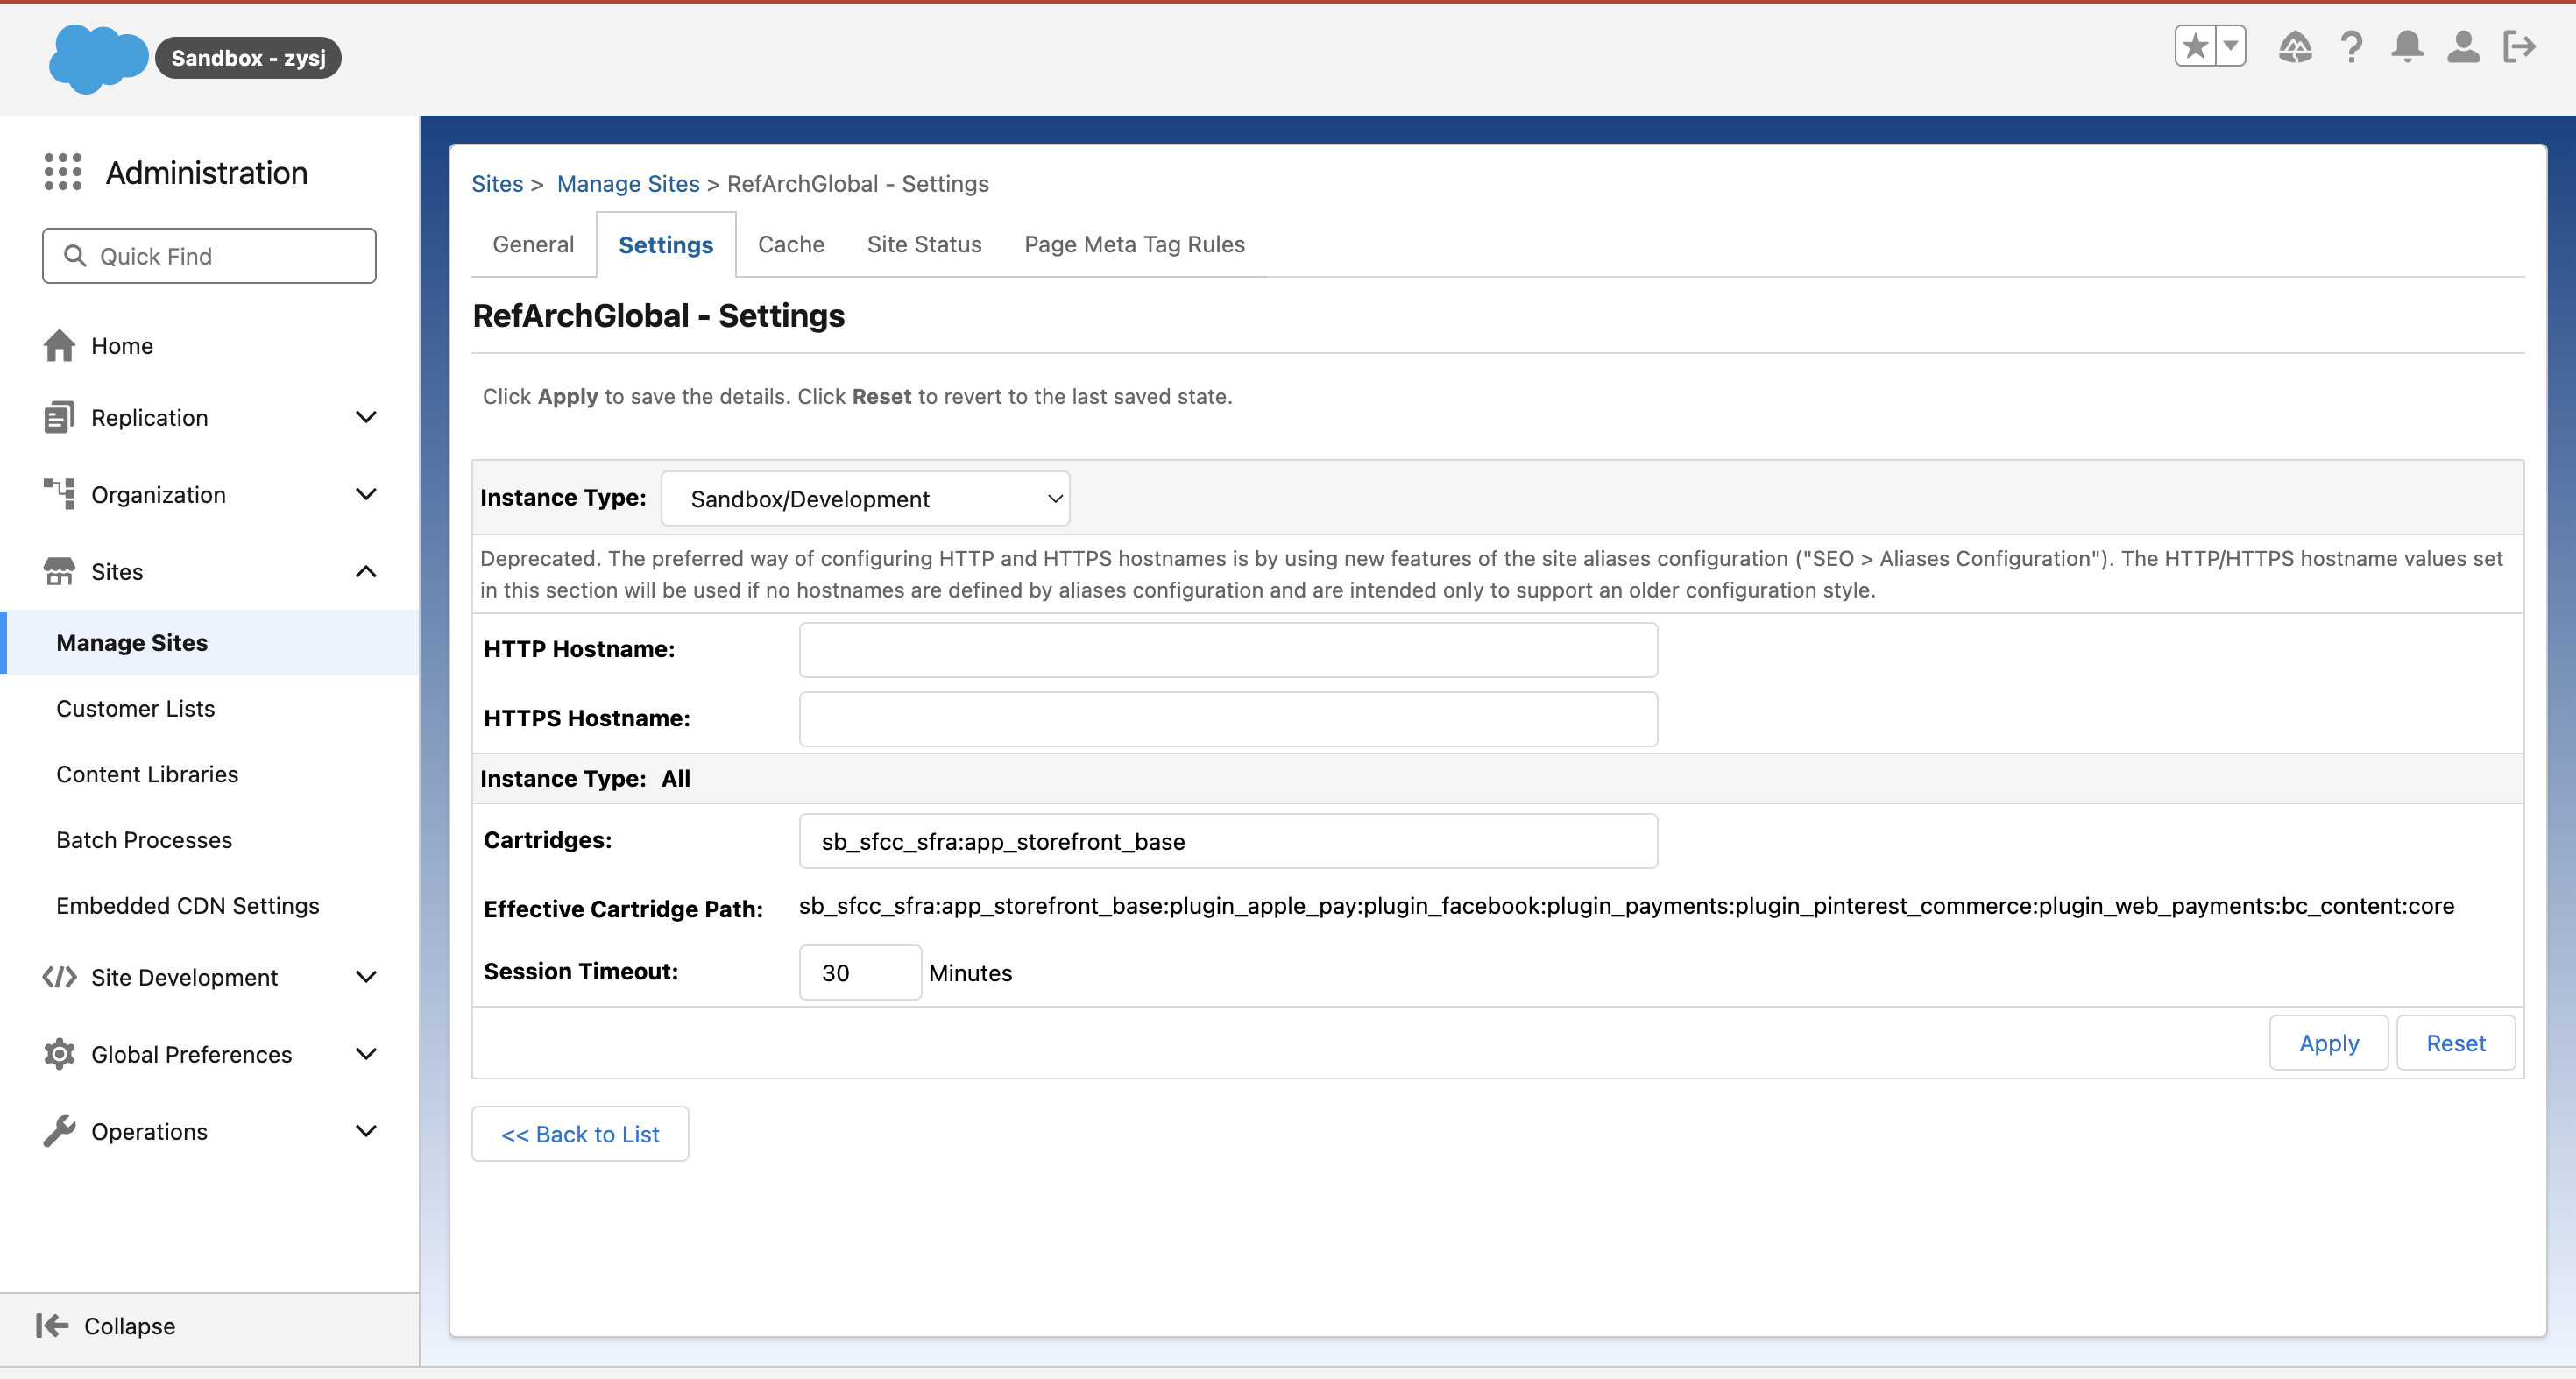
Go to Business Manager → Administration → Site → Manage Sites. Select your desired site and go to Settings.
At the beginning of the Cartridge Path, add
surebright_sfra:to include the cartridge in your current site's configuration.
Important: Always test in your sandbox environment first before deploying to production. Ensure the cartridge is compatible with your SFCC version.
Import the metadata files#
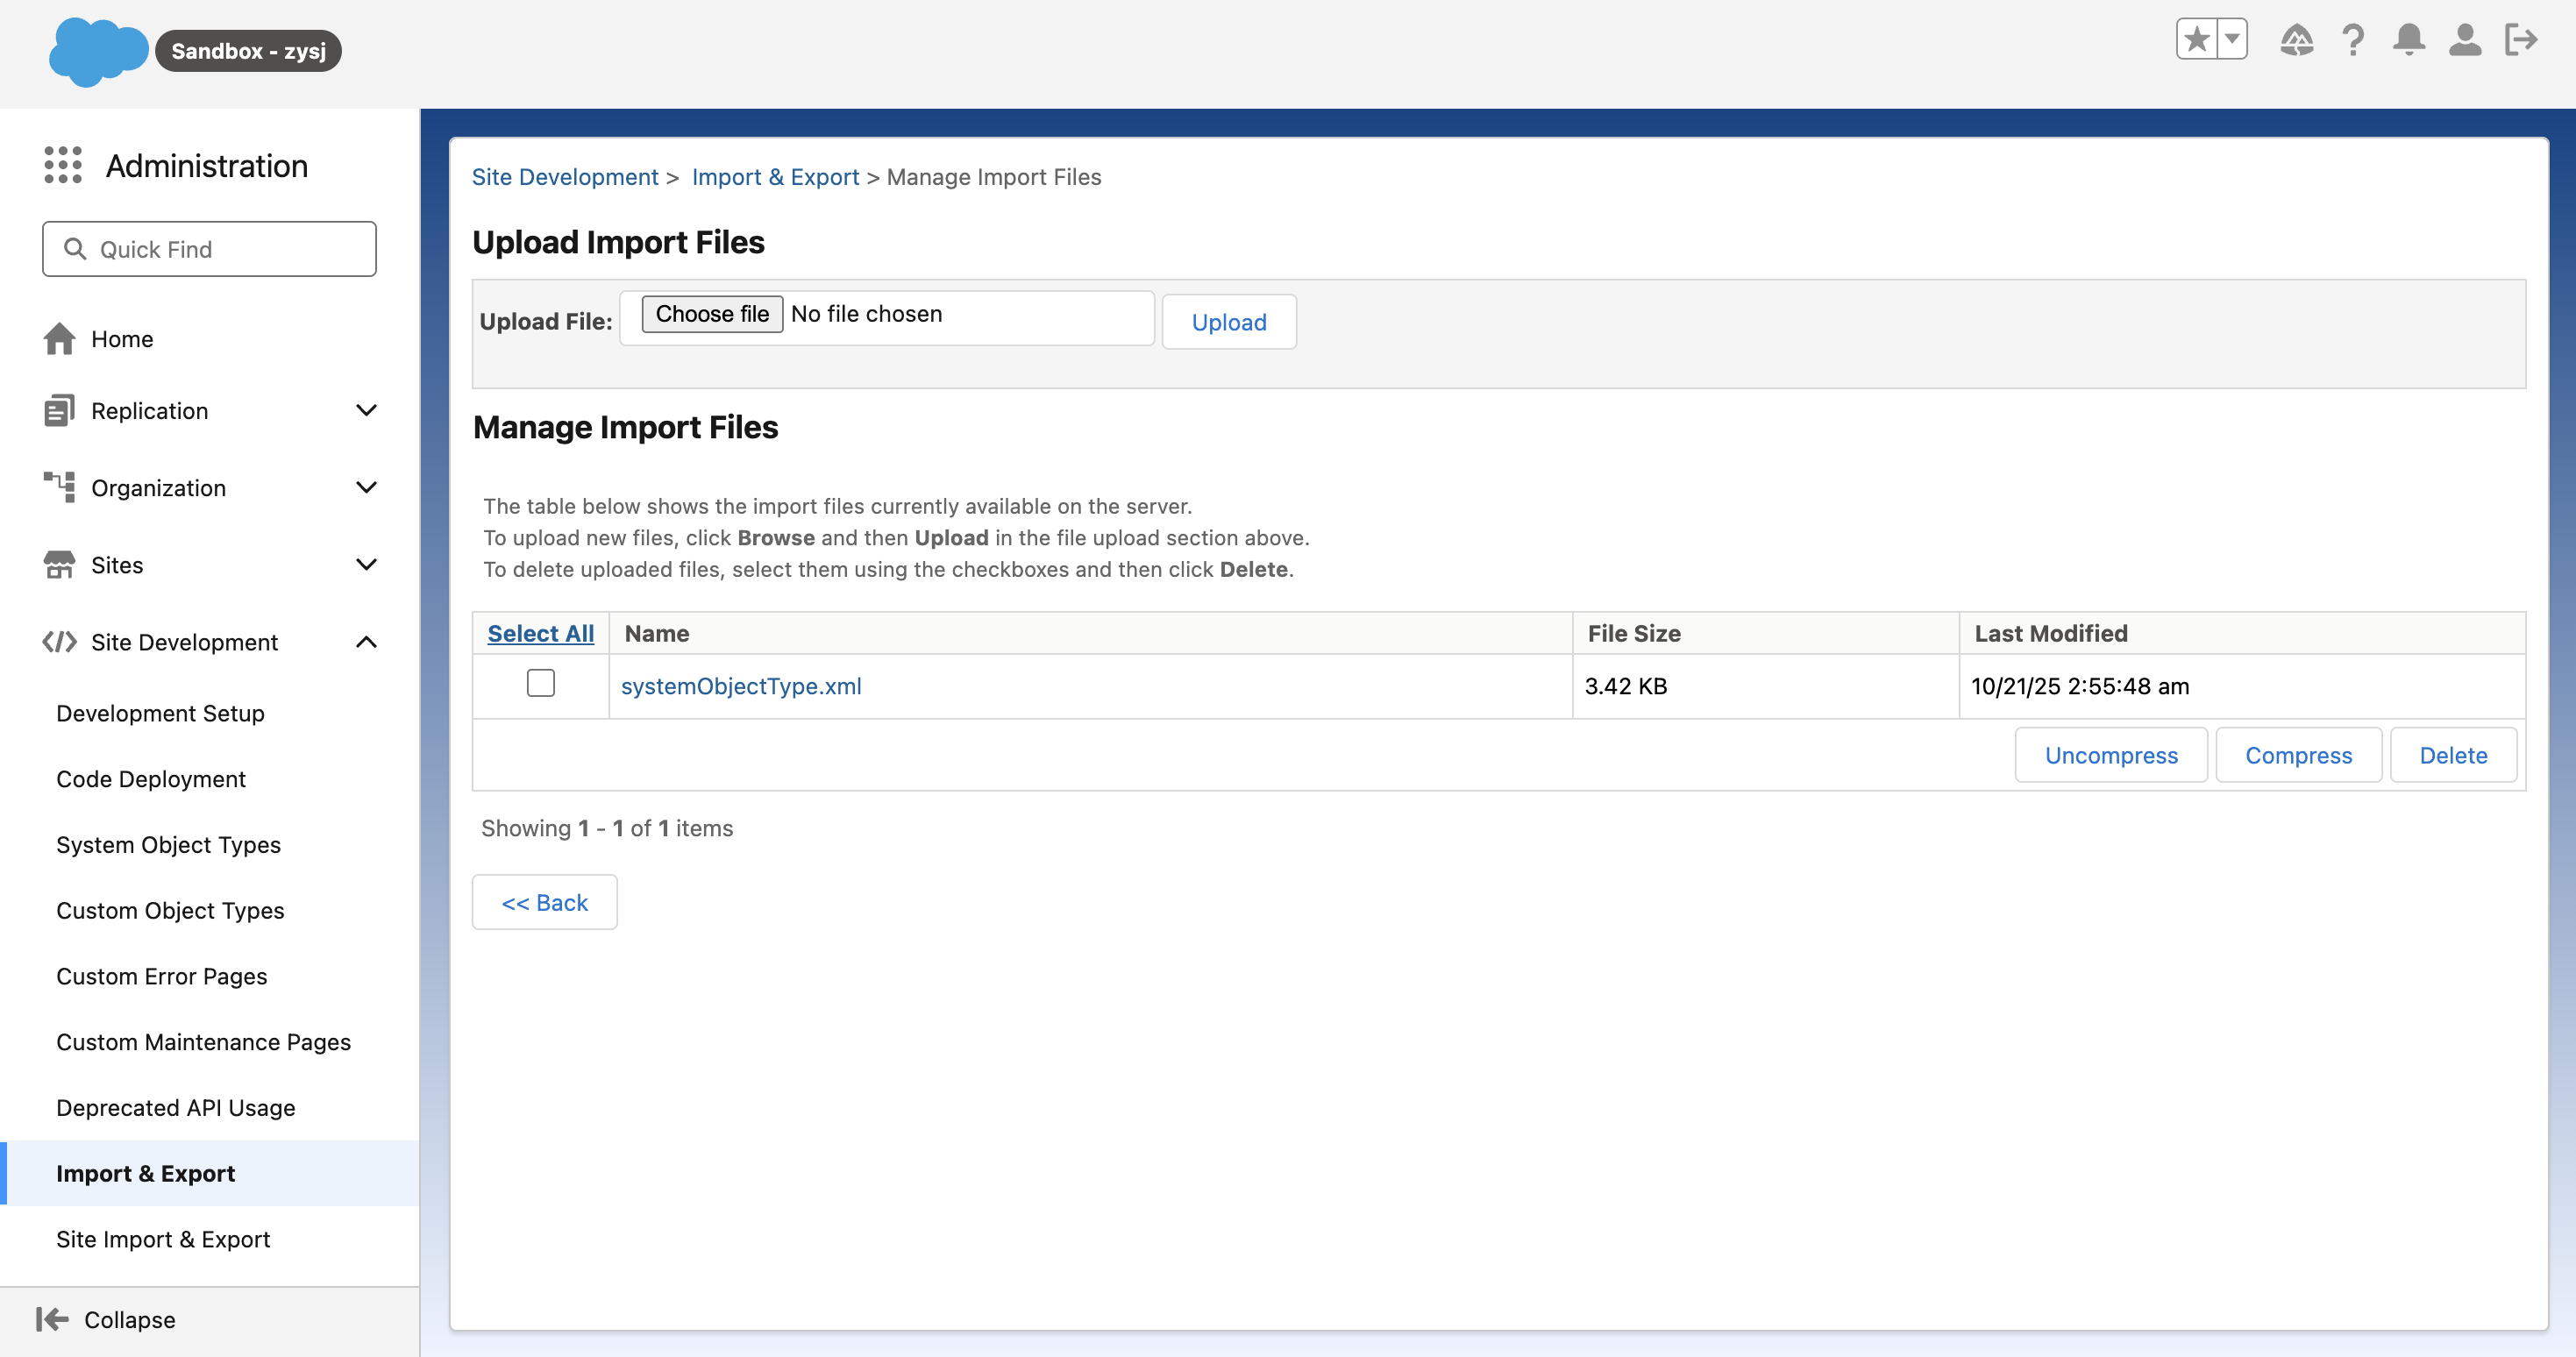
Go to Business Manager → Administration → Site Development → Import & Export
Upload the following files from the SureBright integration package:
system-objecttype-extensions.xml
custom-objecttype-definitions.xml
Go to Business Manager → Administration → Site Development → Import & Export → Metadata → Import
You should see both files as available for import. Proceed to importing both files.
These files add the custom objects and system extensions the SureBright integration needs. Without them it does not function properly.
Import the SureBright jobs#
Go to Business Manager → Administration → Operations → Import & Export
Upload the following file: jobs.xml
Go to Business Manager → Administration → Operations → Import & Export → Jobs → Import
You should see the jobs file as available for import. Proceed to importing it.
The jobs file adds the jobs that send your products and orders to SureBright. You set their site and schedule in the Jobs Guide.
Import the SureBright product catalogue#
Select your site integrating with SureBright
Go to Business Manager → Merchant Tools → Products and Catalogs → Inventory List Import
Upload the following file: catalog.xml
This imports the warranty products as variants, one for each unique warranty tenure and price.
We recommend keeping the SureBright products as a separate master catalog for better visibility and management.
Check the installation#
After all the imports, confirm these three things in Business Manager:
Troubleshooting#
If you are still stuck, check the FAQs, contact your SureBright representative for immediate assistance, or email support@surebright.com for technical support.
Next: go to the Jobs Guide to schedule the data synchronisation jobs, then run the checks in the Testing Guide.